

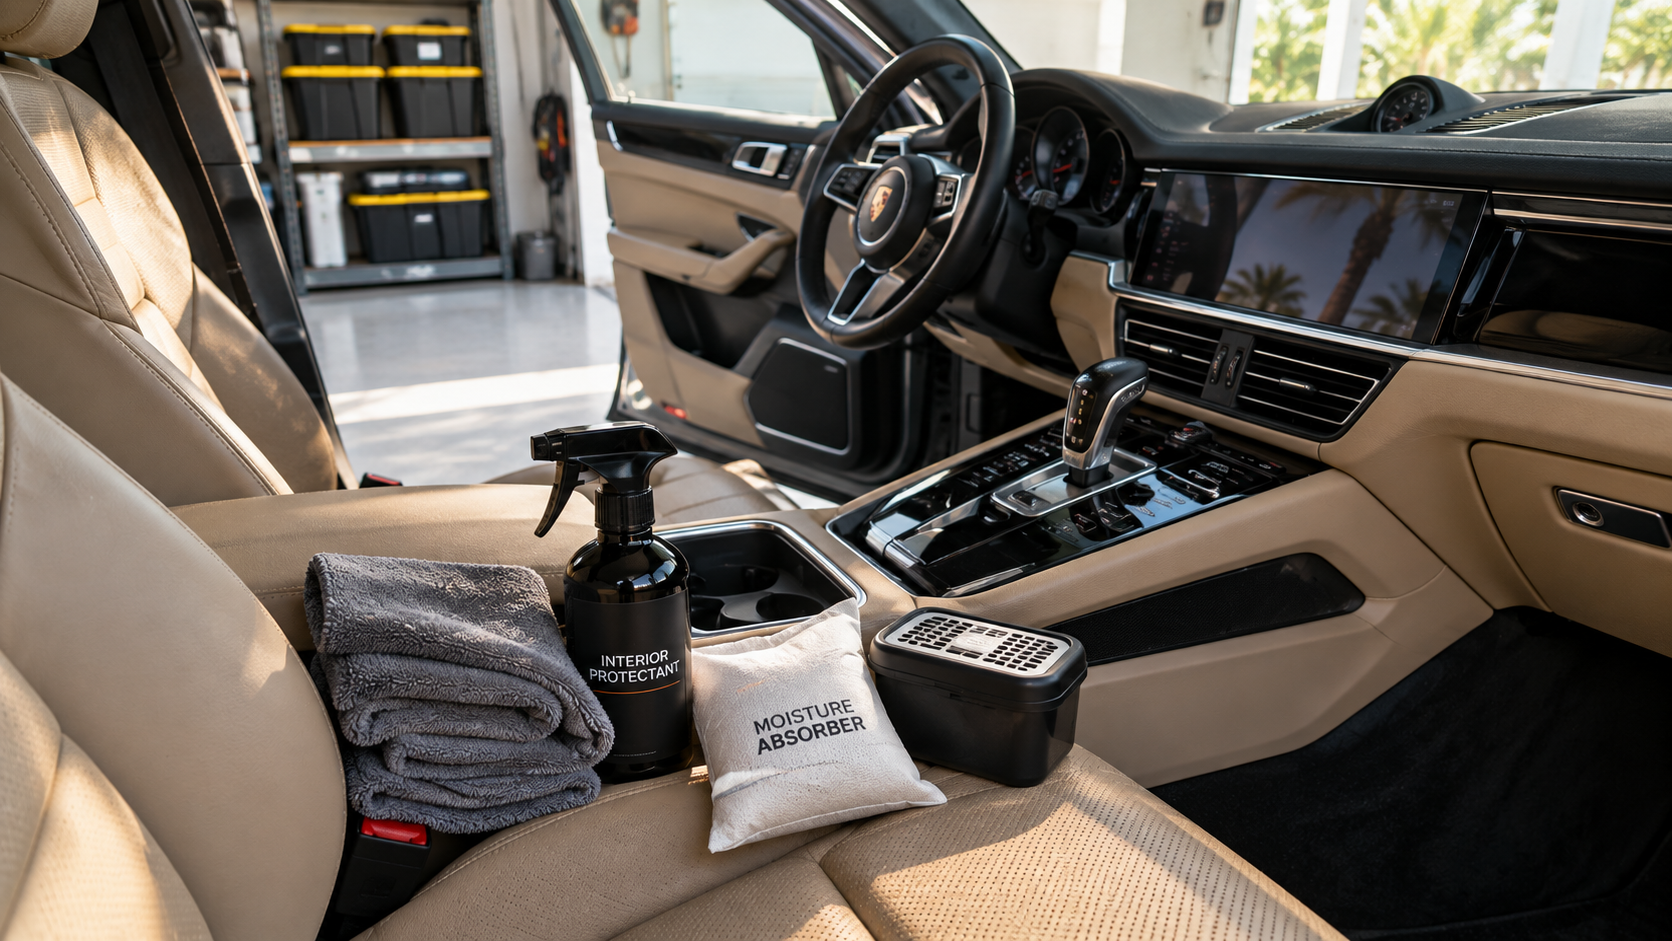
To prepare your car interior for storage, remove food, trash and damp belongings; vacuum and clean with material-compatible methods; allow cleaned areas to dry; and arrange for someone to inspect the cabin while you’re away. A moisture absorber is an optional supplement—not a replacement for drying, fixing leaks or checking the vehicle.
For seasonal residents in Naples and Southwest Florida, the most useful preparation starts before departure day. Cleaning at the last minute leaves little opportunity to discover damp carpet, investigate a musty smell or change an unsuitable storage arrangement.
This checklist covers preventive interior care for a vehicle that will sit for several months. It is not a drying guide for a flooded or rain-soaked cabin. For battery, fuel, tires and other mechanical storage preparation, follow your vehicle’s owner’s manual.
Plan around your departure date and parking location
Before buying cleaning products or booking help, establish three things:
- Your departure date: Leave time after cleaning to check that seats, carpets, mats and the cargo area are dry.
- Where the vehicle will stay: Note whether it will be outdoors, under a roof, in an ordinary garage or in a facility with managed indoor conditions.
- Who can access it: Arrange keys, permission and contact information for a trusted person who can inspect the interior.
A secure indoor space reduces exposure to direct sunlight and weather. Covered parking offers some shelter, but it is not the same as an enclosed garage. Neither a roof nor an ordinary garage establishes that humidity is controlled.
If you are considering managed storage, confirm what the facility actually provides: indoor parking, environmental controls, inspections or some combination. Choose based on the real arrangement rather than the word “indoor.”
Remove what should not stay in the car
Empty the cabin and cargo area before vacuuming. Check beneath seats, seat-back pockets, door bins, the center console, glovebox and trunk compartments—not just the visible seating area.
Remove:
- Food, pet treats, wrappers, crumbs and trash.
- Cups, bottles and containers with drink residue.
- Damp towels, beach gear, clothing and other wet belongings.
- Valuables and unnecessary personal items.
- Products whose labels warn against heat exposure or hot-car storage.
Food residue is worth particular attention. Kelley Blue Book’s vehicle-storage guidance recommends removing trash and crumbs because they can attract pests and contribute to odors.
Open removable organizers and storage bags rather than assuming their contents are clean and dry. A forgotten snack or damp towel can be easy to miss when everything is packed neatly.
Removing these items also makes the later inspection easier: you can see the carpet, reach storage recesses and notice new debris while the car is parked.
Clean by material, not with one product everywhere
Start with dry debris removal. Vacuum seats, carpets, removable mats, accessible crevices and the cargo area. Take the mats out so you can inspect and clean the carpet underneath them.
Then address spills, residue and dirty surfaces using methods approved for your vehicle’s materials. The owner’s manual and cleaning-product instructions should guide product selection, application and any restrictions.
| Interior area | Practical preparation | Important distinction |
|---|---|---|
| Fabric seats and carpet | Vacuum, then address soiling with a compatible cleaning method | Plan for any moisture introduced during cleaning to dry before storage |
| Leather or synthetic upholstery | Identify the material and follow its care instructions | A treatment intended for one upholstery type is not automatically suitable for another |
| Plastic, trim and decorative finishes | Remove dust and residue using an approved method | Different finishes can have different chemical-care requirements |
| Touchscreens and instrument displays | Follow the vehicle’s display-cleaning instructions | Do not assume a household glass cleaner or general interior cleaner is appropriate |
| Mats and cargo liners | Remove, clean as directed and inspect both sides | Check the carpet beneath them before reinstalling |
The goal is to remove contamination, not to apply every available dressing or treatment. Routine interior cleaning does not require aggressive chemicals or an improvised deep-cleaning procedure.
If you would rather have help with the cleanup—or simply want to save time before traveling—explore WOW Detailing’s interior detailing services. WOW is a mobile business serving Naples and Southwest Florida. Discuss your vehicle’s materials and condition when requesting service, and leave time afterward to verify that cleaned areas are dry.
Check drying before closing the vehicle for storage
Do not make “cleaning finished” and “ready to store” the same checkpoint. Inspect the interior again after cleaned materials have had an opportunity to dry.
Work through these areas:
- Seats: Check cleaned sections, seams and lower edges for remaining dampness.
- Carpet: Check footwells and accessible areas beneath the seats.
- Removable mats: Inspect their undersides and the carpet below them. Do not place a mat over damp carpet.
- Cargo area: Check cleaned surfaces and accessible storage recesses, including the spare-tire well if your vehicle has one.
- Belongings going back inside: Return only items that are clean and dry.
Touch and smell are useful screening checks, but they do not establish that underlying padding is dry. If an area was substantially wet, or dampness keeps returning, a dry-feeling surface is not enough to close out the problem.
There is no single drying time that fits every cleaning method, material and parking environment. Check the actual condition rather than relying on a countdown.
A persistent musty smell deserves investigation. Fragrance changes what you smell; it does not explain or correct the source. Unexplained wetness, recurring dampness or suspected leaks should be assessed before the vehicle is left unattended for months.
Choose humidity-control options for the support they actually provide
Humidity-control products are easy to overestimate. Separate three different jobs: absorbing some moisture, observing cabin conditions and managing the storage environment.
Passive moisture absorbers: a limited supplement
Passive absorbers are an optional addition to a clean, dry cabin. They have finite capacity and need a service plan. Husky Liners’ storage checklist mentions desiccants as a storage option, but that does not establish how long a particular product will work in your vehicle.
Before using one, read its instructions for:
- Suitability for the intended enclosed space and storage conditions.
- Placement and securing requirements.
- Capacity or indicators that it needs servicing.
- Replacement, emptying or reactivation requirements, as applicable.
- Spill precautions, especially for designs that collect liquid.
Put the product on the inspection checklist. If nobody can service it, do not build your storage plan around it lasting until your return. An absorber does not repair a leak, dry waterlogged padding or guarantee mold prevention.
Humidity monitors: information, not moisture removal
A humidity monitor can help track conditions near its sensor. It does not remove moisture or prove that concealed carpet padding and seat foam are dry.
Choose and use a device according to its operating instructions. Decide how readings will be checked: during visits, through stored readings or through a supported remote connection. A display nobody can access offers little help while you are away.
Use readings alongside physical inspections—not as a universal pass/fail test for the whole cabin.
Managed indoor storage: a different level of involvement
Managed storage can put environmental controls and oversight in the hands of a facility rather than relying solely on products left inside the vehicle. Confirm which conditions are controlled, who monitors the space and what happens if equipment stops working.
Do not improvise an unattended in-car setup with a household dehumidifier, heater or fan. Powered humidity control needs equipment suitable for the setting, permitted electrical arrangements, appropriate drainage where required and someone responsible for monitoring it. This checklist does not establish a safe unattended setup.
None of these options replaces starting with a dry interior and investigating existing moisture problems.
Finish with a cabin walkthrough
Before locking up, inspect for existing problems that could otherwise be mistaken for something new later:
- Unexplained dampness, staining or water in storage recesses.
- Musty or unusual odors.
- Suspected visible growth.
- Droppings, nesting material or signs of chewing.
- Damaged or displaced sealing surfaces that warrant further inspection.
Take a few clear photos of the cabin and any area you want checked. They give your contact a useful reference, though photos alone cannot establish whether hidden areas are dry.
For window position, ventilation settings and any storage mode, use vehicle-manufacturer guidance. Do not assume cracked windows improve storage conditions: outdoor air, rain, insects and security all matter. A generic ventilation tip is not a substitute for guidance suited to the vehicle and parking location.
Give your contact a short inspection plan
Arrange checks before you leave rather than hoping someone will remember. Agree on access, a schedule suited to the storage conditions and what should trigger a call. There is no universal inspection interval that fits every vehicle and location.
Ask your contact to:
- Note musty or unusual odors when opening the cabin.
- Look for damp areas, new stains or visible growth.
- Check accessible carpet beneath removable mats.
- Look for droppings, nesting material, chewing or recurring insects.
- Inspect any moisture absorber according to its instructions, including for leakage or a need for servicing.
- Record monitor readings if you are using one.
- Send photos and contact you promptly about changes.
For suspected growth or pest contamination, keep the check observational rather than asking someone to scrub, vacuum or disturb it.
Match professional help to the problem. Recurring wetness or water in a footwell calls for assessment of the moisture source and potentially leak diagnosis. Suspected mold needs assessment beyond ordinary cosmetic cleaning. Pest evidence can require pest control, with mechanical inspection appropriate when chewing or wiring damage is suspected. Routine interior detailing is not a substitute for those services.
Save this final departure checklist
- [ ] Empty the cabin, compartments and trunk of food, trash and unnecessary belongings.
- [ ] Remove damp items and products unsuitable for hot-car storage.
- [ ] Vacuum seats, carpets, mats, crevices and the cargo area.
- [ ] Clean each material using compatible methods.
- [ ] Recheck cleaned areas and beneath mats for dampness.
- [ ] Investigate unexplained moisture, musty odors, growth or pest evidence.
- [ ] Follow vehicle guidance for windows and ventilation.
- [ ] Set up any absorber or monitor according to its instructions.
- [ ] Give a trusted person access, an inspection list and contact details.
- [ ] Keep a record of anything that needs servicing or removal when you return.
The essential sequence is simple: empty, clean, dry, inspect and arrange follow-up. Products can support that plan, but they cannot replace it.
Want help with the interior cleanup before you leave? Request an interior detailing quote from WOW Detailing with your vehicle model, location and current photos, and allow time for cleaned areas to dry before storage.
Want professional help with your car?
Send us your vehicle make, model and a few current photos. We’ll recommend the right service based on the car’s actual condition.
Request a Quote