

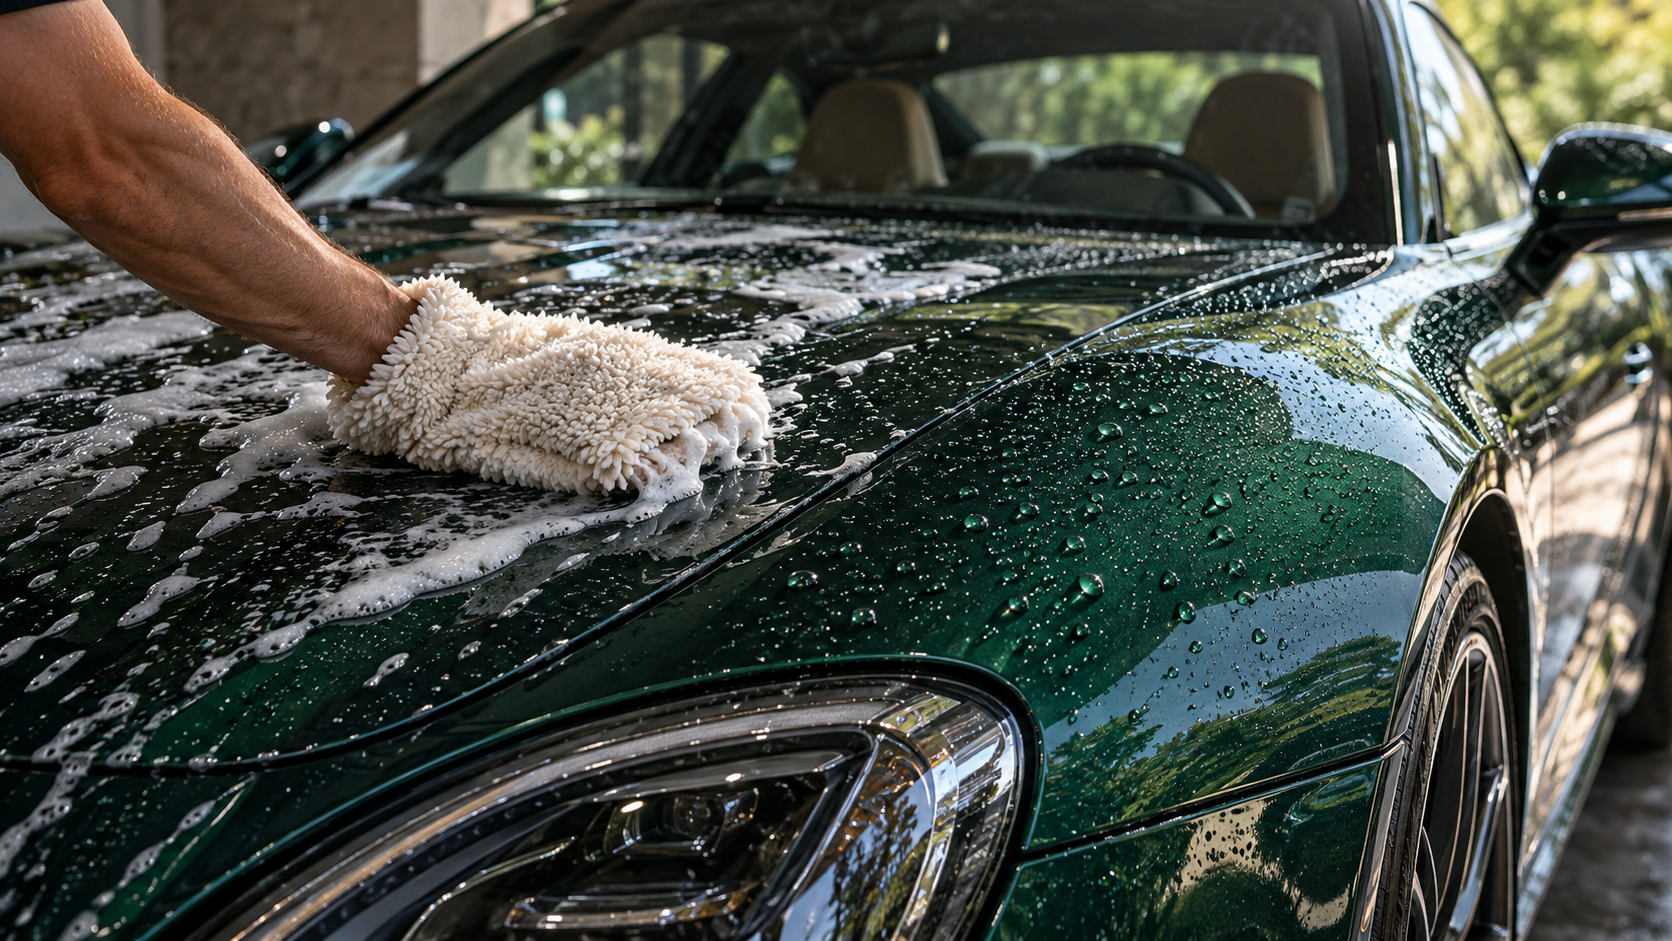
To wash a ceramic-coated car, first confirm that the coating is ready for routine washing. Then use a compatible automotive shampoo on cool panels, rinse away loose dirt, wash gently with clean tools, rinse thoroughly and dry promptly. The goal is to remove contamination without dragging grit across the finish or letting soap and water dry on it.
For Naples and Southwest Florida owners, managing heat is especially important. Even a careful wash becomes harder when panels are hot and rinse water dries faster than you can remove it. A coating can make cleaning easier, but it does not make paint scratch-proof, water-spot-proof or maintenance-free.
Start with your coating’s care instructions
A newly applied coating and one already cleared for routine maintenance need different treatment. Before the first wash, check the care sheet or contact the installer to confirm:
- When routine washing can begin.
- Any initial restrictions on water exposure or cleaning chemicals.
- Recommended shampoos and maintenance products.
- Any inspection or documented-maintenance requirements.
There is no single first-wash waiting period that applies to every coating. Use the instructions for the product actually installed, rather than a generic online timeline. If the coating is new and you did not receive instructions, get those before washing.
For an established coating, keep its product name and care instructions handy. Ceramic Pro’s maintenance guidance explains that maintenance requirements vary by product, including whether particular maintenance sprays or inspections are recommended.
Gather compatible products and clean tools
You do not need a shelf full of coating boosters to perform an ordinary wash. Start with:
- A compatible automotive maintenance shampoo.
- Clean microfiber wash mitts or other suitable automotive wash media, with a spare available.
- A wash bucket and, if using the two-bucket method, a separate rinse bucket.
- Dedicated wheel brushes, mitts and towels.
- Clean automotive microfiber drying towels, an appropriate vehicle dryer, or both.
- A water supply for thorough rinsing.
Check tools before starting. A soft towel with grit trapped in it is not ready for paintwork. Set aside anything dirty, and replace a mitt or towel that falls on the ground rather than continuing with it.
Plain shampoo, wash-and-wax or ceramic shampoo?
For routine washing, a plain maintenance shampoo that meets your coating maker’s guidance is a straightforward choice. Coating manufacturers’ care guidance commonly recommends pH-neutral shampoo, but pH alone does not establish compatibility. Follow both the coating instructions and the shampoo’s dilution directions.
| Product type | What it is for | How to choose |
|---|---|---|
| Plain maintenance shampoo | Routine cleaning without an added wax or topper step | Choose one consistent with the coating maker’s instructions |
| Wash-and-wax or ceramic-additive shampoo | Cleaning combined with deposited additives | Use when the coating guidance allows that type of product; additives are not automatically needed |
| Drying aid | A separate product used during drying, where its directions permit | Confirm coating compatibility and whether it goes on wet or dry surfaces |
| Coating topper or booster | A coating-specific maintenance addition | Follow the relevant care instructions rather than applying one after every wash by default |
Manufacturer recommendations differ: Ceramic Pro favors shampoo without added wax, while other car-care brands recommend particular additive washes. That is not proof that every additive is harmful—or suitable for every coating.
Avoid dish soap, household cleaners and unapproved strong cleaners for an ordinary maintenance wash. A stubborn deposit calls for identification and an appropriate treatment, not an improvised chemical upgrade.
Choose shade and cool panels
Park in shade and check that the body panels are cool before starting. Early morning or later afternoon can help, but the time of day does not guarantee a cool surface. A vehicle recently driven or parked in the sun can still be too warm.
Set out your supplies before wetting the car so you can move steadily through the wash. If shampoo or rinse water starts drying before you can remove it, reduce the size of each work section. If that still does not give you enough time, move to better shade or wait for cooler conditions.
Both heat and sunlight shorten your working time. Gtechniq’s coated-car washing guide emphasizes cool surfaces and keeping cleaning products from drying during use.
Do not assume a coating’s water beading solves this problem. Droplets can remain on coated paint, and evaporating water can leave mineral deposits behind.
Follow this washing sequence
1. Clean the wheels separately
Cleaning wheels first helps avoid splashing wheel grime onto a freshly washed body. Use tools reserved for the wheels, and choose a cleaner suitable for the wheel finish and any wheel coating.
Work on cool wheels, follow the product directions and rinse thoroughly. Keep wheel cleaner off body panels unless its instructions explicitly permit that use. Do not transfer wheel mitts or towels to the paint: they can retain brake dust and road debris.
2. Pre-rinse the body
Rinse loose dirt from the vehicle before touching it with a wash mitt. Pay attention to lower doors, rocker panels, wheel arches and the rear, where heavier grime often collects.
The purpose is simple: remove as much loose material as practical before contact washing so there is less grit available to drag across the finish. A coating does not make skipping this step a good idea.
If you use a pressure washer, follow the equipment and vehicle instructions rather than assuming one pressure setting or working distance suits every setup.
3. Use a pre-wash only when useful
A compatible pre-wash or foam can help loosen heavier soil before hand washing. Apply and rinse it according to its directions, without letting it dry.
Foam is optional preparation, not proof that the car is clean. A foam-and-rinse cycle does not necessarily remove the remaining road film; gentle contact washing still has a role. Do not compensate for stubborn film by scrubbing harder.
4. Contact-wash from the top down
Use the shampoo at its specified dilution. Start with the roof and upper panels, then work downward, leaving the dirtiest lower sections until last.
Use light pressure and overlapping passes. Keep the wash media clean throughout:
- With two buckets, rinse the mitt in the rinse bucket before returning it to the shampoo solution.
- Rinse or exchange dirty wash media frequently rather than carrying grime from panel to panel.
- Use a clean spare when a mitt becomes heavily soiled.
- Rinse completed sections before shampoo dries, adjusting section size to the conditions.
Two buckets are one practical way to manage dirty wash media, not a guarantee against scratches. Clean tools, adequate pre-rinsing and gentle handling matter more than treating any bucket arrangement as foolproof.
5. Rinse thoroughly
Remove all remaining shampoo, including residue around mirrors, handles, badges, trim and panel gaps. Check the areas below these features, where runoff can collect.
Move directly into drying. Do not leave the wet vehicle sitting while you put away all the washing equipment.
Dry promptly: towel, vehicle dryer or both?
Letting the car air-dry is different from deliberately removing water with a vehicle dryer. Passive evaporation can leave minerals behind. Drying promptly reduces that opportunity, though it cannot guarantee that no spots will form.
Microfiber drying towels
Clean automotive drying towels are a straightforward option. Blot or glide lightly over the clean surface rather than pressing hard. Switch towels when one becomes saturated or dirty.
Have enough clean drying material ready to finish the vehicle. Continuing with an overloaded towel makes it harder to remove the remaining water efficiently.
An appropriate vehicle dryer
A vehicle dryer can move water off the surface without towel contact and help clear water around mirrors, trim and panel gaps. It adds equipment to the routine, and a clean towel can still be useful for remaining droplets.
Use clean equipment intended or suitable for vehicle drying, following its instructions. Keep hoses and nozzles from dragging across the paint; do not assume every blower or compressed-air arrangement is appropriate.
Either method can be part of a practical routine. Check for delayed drips from mirrors and trim after the main surfaces are dry.
If you use a drying aid, apply a compatible product exactly as directed. A product intended for dry paint should not be treated as a wet-surface drying aid, and a topper is not automatically required after washing.
Can you use an automatic wash?
The useful distinction is how the wash cleans—not simply whether it is automatic.
| Washing option | Practical benefit | Main consideration |
|---|---|---|
| Careful hand washing | Gives you control over tools, products and dirty areas | Dirty mitts or excessive pressure can still cause wash marks |
| Brush or cloth-strip wash | Convenient | Friction equipment introduces contact and abrasion risk, especially when grit is present |
| Touchless wash | Avoids brush and cloth contact | Chemical compatibility still matters; “touchless” does not establish suitability for every coating |
A careful hand wash is the preferred routine when you can use clean tools and compatible products. Avoid friction washes when practical. Treat a touchless wash as a conditional backup: check your coating’s restrictions and the wash’s products before relying on it. It is not accurate to label every automatic wash destructive or every touchless wash safe.
Adjust the routine to exposure—not a universal calendar
Use visible dirt, driving conditions, parking exposure and the coating maker’s guidance to decide when to wash. A garage-kept weekend car does not accumulate the same contamination as a daily driver parked outdoors.
In Southwest Florida, consider what your vehicle actually encounters: bug residue after highway driving, pollen during outdoor parking, coastal grime or repeated exposure to dirty runoff. Check the finish after heavier exposure rather than waiting automatically for a calendar reminder.
After washing and drying, distinguish ordinary dirt from problems that need another approach:
- Persistent spots or stuck-on deposits: Sap, tar, mineral spots and rough contamination need identification before choosing a compatible removal method. Stop repeated scrubbing if the normal wash does not remove them.
- Swirls, haze or scratches: These are not simply remaining dirt. Washing and topper sprays do not correct them. Paint correction is a separate decision because polishing can alter or remove the coating.
- Changed water beading: Reduced beading alone does not prove that the coating has failed or that it needs a booster. If the change persists after proper washing, have the surface assessed before choosing treatment.
When professional maintenance makes sense
Professional care is useful for convenience and consistent maintenance—not only after a DIY problem. It is particularly helpful when your available washing conditions make it difficult to keep panels cool or dry the vehicle promptly.
Explore WOW Detailing’s mobile maintenance and exterior detailing services if you would prefer help caring for your vehicle in Naples or Southwest Florida. Share the coating’s name and aftercare instructions when discussing the work so product restrictions and maintenance needs can be considered. Manufacturer-required inspections are a separate matter; confirm their requirements with the coating provider.
The takeaway: use compatible products, keep grit out of your tools, wash on cool panels and remove water promptly. Those habits are more useful than adding extra products to every wash.
Prefer help with routine care? Request a maintenance detailing quote through WhatsApp and share your vehicle model, location, coating details and current photos.
Want professional help with your car?
Send us your vehicle make, model and a few current photos. We’ll recommend the right service based on the car’s actual condition.
Request a Quote