

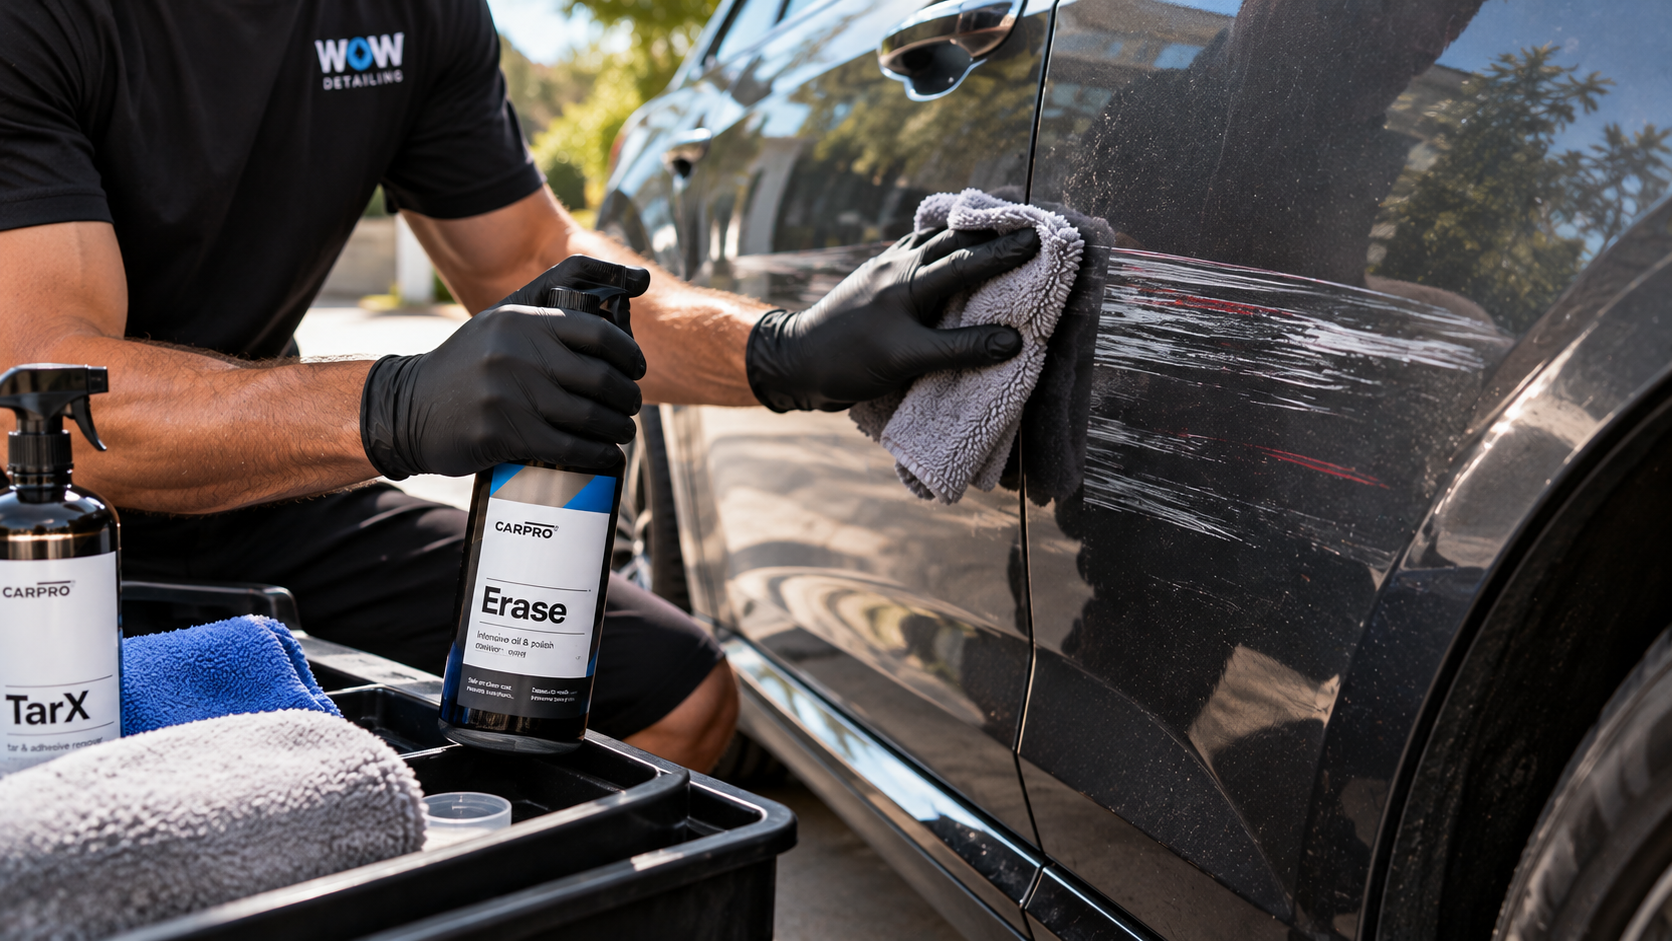
A colored scuff after contact with a garage wall, another car or a painted post can contain transferred material, damage to your car’s finish, or both. If you’re wondering how to remove paint transfer from a car, start by documenting the mark, checking the finish and gently washing the area on a cool panel. Then reassess before trying a remover.
If residue remains, use only a product whose instructions explicitly cover the surface and removal task. Don’t move automatically from washing to stronger solvents or abrasives: removing someone else’s paint and correcting damage to your own paint are different jobs.
Is it paint transfer, a scratch or both?
Paint transfer is foreign paint deposited on your vehicle during contact. A scratch is damage to the vehicle’s existing finish. The same incident can create both, as explained in Nigro’s Auto Body’s overview of paint transfer.
That distinction matters because a cleaner can target deposited material, while polishing works on the existing finish. Neither approach replaces missing paint.
Before cleaning, take a close photo and a wider photo showing the affected panel. This is especially useful after contact involving another vehicle or someone else’s property. Record what happened while the details are fresh.
Next, inspect under good lighting without scraping or picking at the mark. Look for:
- Chipped, cracked, lifted or peeling paint.
- An exposed underlying layer or bare metal or plastic.
- Dents, a split bumper or a displaced panel.
- A mark that crosses painted surfaces, textured trim or film edges.
Obvious paint loss or deformation is a reason to arrange body-shop assessment rather than attempt cosmetic removal over the damaged area. You don’t need to remove all the colored residue first.
Color, texture and photographs are clues—not proof of damage depth. A contrasting streak does not establish that the original paint is intact. Likewise, a fingernail that does not catch is not permission to polish. Use inspection to identify reasons to stop, not to certify that a mark is safely removable.
Identify the finish before choosing a method
A product described as “paint-safe” is not automatically suitable for every surface on a vehicle. Identify what you are actually treating before applying a remover or abrasive.
| Surface or finish | What to check before going beyond washing |
|---|---|
| Conventional glossy paint | Confirm that the product covers automotive paint and the intended removal task, including any exclusions. |
| Matte or satin paint | Follow the finish manufacturer’s care instructions. Don’t use clay, compound, polish or wax unless expressly approved. |
| Vinyl wrap or paint protection film | Use the film manufacturer’s or installer’s applicable care guidance, not a procedure intended for exposed paint. |
| Ceramic-coated paint | Check both the paint and coating care guidance before using removers or abrasives. |
| Repaired or recently refinished paint | Follow the refinisher’s aftercare instructions, including any restrictions on cleaners or polishing. |
| Textured trim or an area spanning several materials | Check compatibility with each material the product could touch. Approval for painted panels does not cover adjacent trim automatically. |
If the finish history is unknown, check your records or contact the installer or repairer before trying a removal product. Continue only with washing that is appropriate for the known surface.
For matte and satin finishes in particular, the goal is to preserve the intended appearance—not make the mark shiny. A glossy-paint correction approach is not an appropriate default.
Start with a gentle wash on a cool panel
In Naples and Southwest Florida, choose shade and let a sun-heated panel cool before working. Pick a spot away from windblown grit. This makes it easier to control the cleaning process instead of working against a hot surface and drying product.
Gather a finish-compatible automotive shampoo, clean soft wash media and clean microfiber drying towels. Then:
- Rinse the affected area and its surroundings. Remove loose dirt before touching the paint.
- Wash gently with the compatible shampoo. Use clean wash media rather than scrubbing the colored streak with a dry towel.
- Rinse thoroughly. Don’t leave soap or loosened debris behind.
- Dry gently with clean microfiber. Switch to a clean towel face when it picks up residue or dirt.
- Inspect the dry area in good light. Compare it with your original photos.
The reason for washing first is straightforward: dirt trapped between an applicator and the finish can create additional scratches. Chemical Guys’ paint-transfer guide supports cleaning before removal work and distinguishes washing from abrasive correction.
Washing can remove loose material and make the remaining mark easier to assess. It is not a test that proves whether the finish underneath is damaged.
If washing leaves the mark unchanged, don’t repeat the same rubbing with more pressure. Either evaluate a properly labeled removal product or leave the remaining work for assessment.
What if colored residue remains after washing?
There is no single solvent or rubbing technique appropriate for every painted, coated, wrapped or refinished surface. A useful next step is product-specific compatibility, not a stronger household chemical.
Before using a remover, confirm three things:
- The intended task: Its instructions cover transferred paint or the relevant surface residue—not merely general cleaning.
- The intended surface: Its directions and exclusions match your finish and any adjacent materials it could contact.
- The complete procedure: You have the application, removal, testing and safety instructions, not just a “safe for cars” claim on an online listing.
If compatibility is clear, follow those directions, including an inconspicuous test where instructed. Use the specified applicator, amount and removal method. Inspect the test area before treating the visible mark. A successful test provides useful local information; it does not justify repeated applications or increased pressure beyond the instructions.
If the product directions and finish-care guidance do not establish compatibility, skip the experiment. This is particularly important with film, specialty finishes and recent repairs.
Should you try detailing clay or compound?
Neither is an automatic next step after washing. Clay is used for bonded surface contamination, but it can leave marring and does not repair scratches. Compound and polish work on the vehicle’s existing finish; they are not simply stronger soaps.
For an owner dealing with an uncertain contact mark, keep the DIY decision to compatible cleaning. Clay or abrasive correction belongs in a separate decision based on the surface, remaining defect and safe scope of treatment—not a fixed escalation ladder.
Methods to avoid—and clear stopping points
Skip internet shortcuts involving toothpaste, baking soda, scouring pads or abrasive cleaning sponges, including melamine foam. These can mark the finish while removing the visible residue. A disappearing colored streak is not a successful result if the surrounding paint becomes dull.
Also avoid:
- Scraping with razors, fingernails or improvised plastic tools. Don’t use picking or scraping to determine whether the mark is raised material.
- Universal solvent recipes. Rubbing alcohol, WD-40, mineral spirits and paint thinner are not interchangeable with a remover approved for your finish. Acetone, nail-polish remover and paint stripper are not default automotive scuff treatments.
- Sanding or unguided machine polishing. These go beyond cleaning and require decisions about the existing finish that a colored mark alone cannot answer.
- Repeatedly increasing pressure or product strength. Lack of improvement is a reason to reassess, not permission to become more aggressive.
Stop treatment if the surface becomes sticky, wrinkled, cloudy, unexpectedly dull or discolored; material lifts; trim changes appearance; or damage becomes visible. Unexpected vehicle-colored residue on the applicator also warrants stopping and checking the finish rather than assuming only foreign paint is coming off.
These are practical stopping points, not remote diagnoses. Lavish Car Detail’s owner guide similarly emphasizes finish compatibility, controlled cleaning and reassessment rather than escalating through improvised methods.
Choose between cleaning, paint correction and repair
Once the area is clean, choose the next step based on what remains—not how completely you hoped the mark would disappear.
| Next step | What it addresses | Important tradeoff or limit |
|---|---|---|
| Compatible cleaning | Foreign material sitting on the surface | Removing residue does not fix a scratch underneath it. |
| Paint correction assessment | Whether some remaining scuffing, haze or shallow finish defects can be improved | Abrasive correction removes or levels existing finish; complete removal is not always appropriate or achievable. |
| Body-shop assessment | Missing paint, peeling finish, cracks, dents or other contact damage requiring repair | Cleaning and polishing cannot replace missing layers or reshape a damaged panel. |
Professional help is useful before DIY attempts, too. If you want to avoid product selection and trial-and-error, WOW Detailing’s exterior detailing and paint correction services offer a relevant starting point for discussing the mark and whether correction is appropriate. WOW Detailing is a mobile business serving Naples and Southwest Florida; body repair and refinishing are separate from detailing.
What if a scratch remains after the transfer is gone?
The contact that deposited foreign paint could also have scratched the original finish. Removing that material can leave an underlying defect more visible. A remaining line therefore does not, by itself, show that cleaning caused the damage.
Don’t chase the last line with repeated polishing. A useful correction outcome can be improvement rather than complete removal, especially when further abrasion would sacrifice more existing finish.
After a compatible removal or correction process, follow the applicable instructions for cleaning away residue and maintaining surface protection. Wax, sealant or coating-care products are not replacement paint and do not make the panel scratch-proof. There is no need to turn a localized scuff into an unrelated coating purchase.
Getting help with a scuff in Naples
For an initial service discussion, share clear close-up and wider photos from several angles, along with:
- Your vehicle model, location and affected panel.
- What contacted the car, if known.
- Whether the surface has matte paint, a wrap, film or a coating.
- Any known repaint or recent repair history.
- The names of products already used and any changes you noticed.
Photos help explain the situation, but an in-person inspection may still be needed to decide whether the remaining mark is residue, a correctable finish defect or paint loss.
The practical takeaway: wash first, verify compatibility before using a remover and keep cleaning separate from correction. Preserving the original finish is more important than making every trace disappear in one attempt.
Still seeing a scuff—or prefer help from the start? Ask WOW Detailing about a paint correction assessment and whether correction is appropriate for the mark. Request a quote through WhatsApp with your vehicle model, location and current photos.
Want professional help with your car?
Send us your vehicle make, model and a few current photos. We’ll recommend the right service based on the car’s actual condition.
Request a Quote