

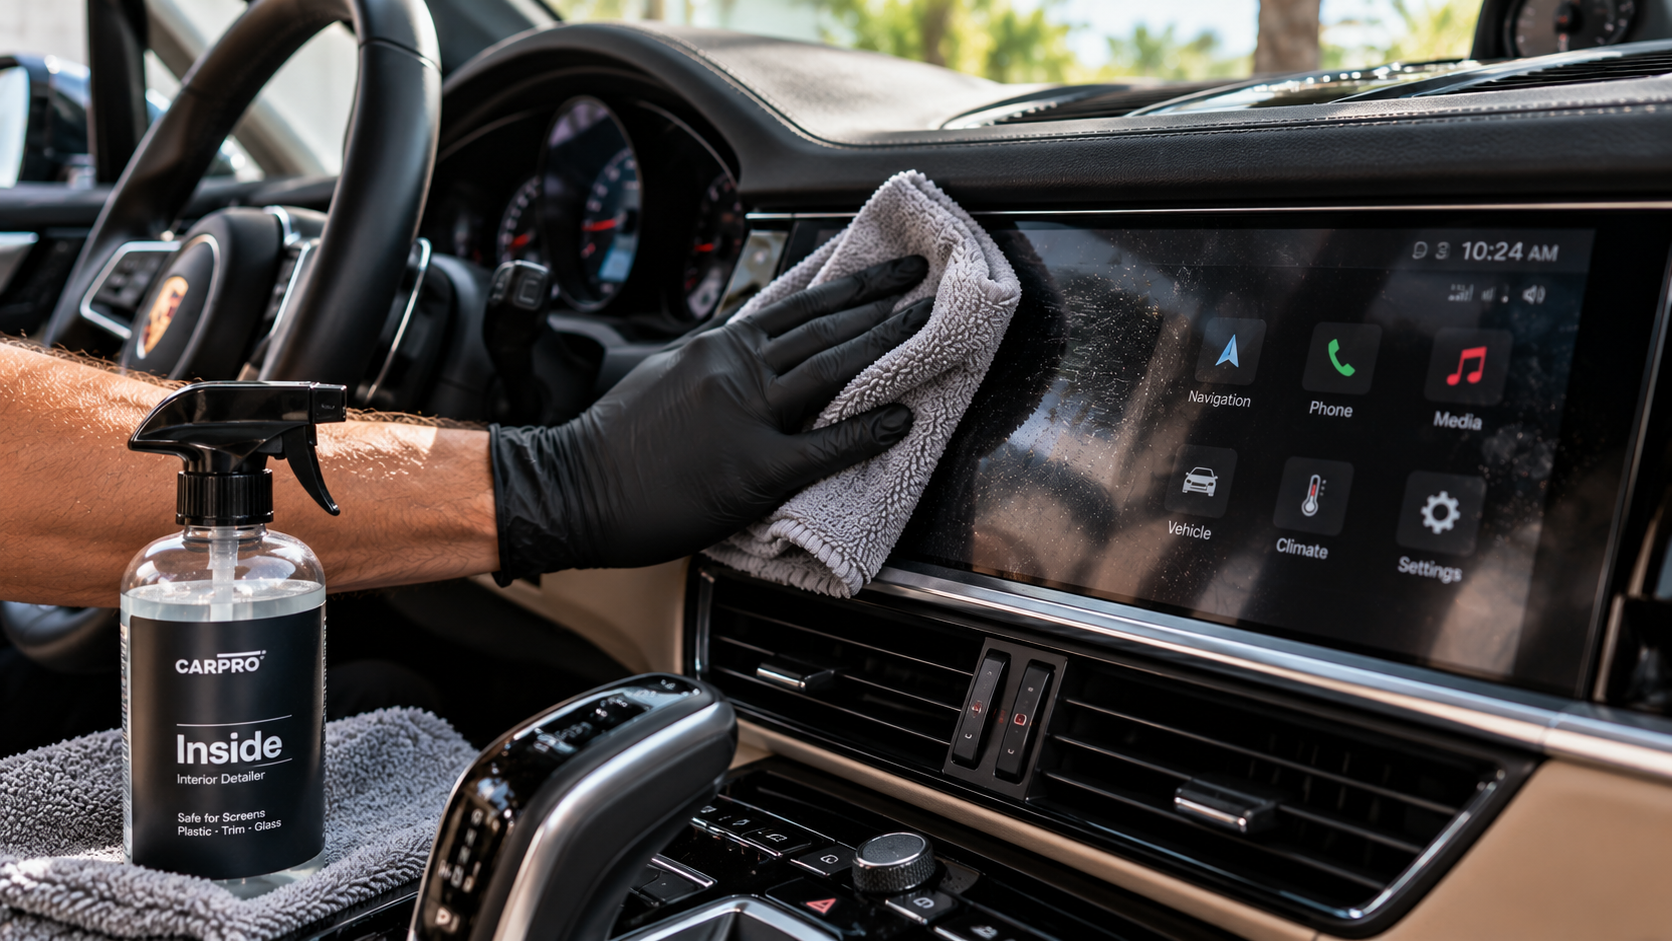
The best starting point for how to clean a car touchscreen is a clean, soft cloth and your vehicle’s display-care instructions. For ordinary fingerprints, try gentle dry wiping with the recommended cloth first. If smudges remain, use only the water or cleaner permitted for that display, applied sparingly to the cloth—not sprayed onto the screen.
The important distinction is that a touchscreen is not a windshield. A product that works well on your windows is not automatically suitable for the display’s exposed finish. Cloth cleanliness, light pressure, and control of moisture matter more than aggressive scrubbing.
Check your vehicle’s display-care instructions first
Look in the owner’s manual or the manufacturer’s official support information for your exact model and year. Search for terms such as “touchscreen,” “display cleaning,” “infotainment care,” or “interior care.”
Find four things before choosing a cleaning product:
- Cloth type: Whether the instructions specify microfiber or another soft, lint-free cloth.
- Display preparation: Whether to turn the display off or use a screen-cleaning mode, and how to do it.
- Permitted moisture: Whether the instructions allow water, a particular cleaner, or dry cleaning only.
- Restrictions: Any prohibited chemicals or special application instructions.
Do not borrow a cleaning recipe from another vehicle, your phone, or a television. Even advice about the same vehicle brand needs to match the display you have. If the manual leaves cleaner compatibility unclear, ask the manufacturer or dealer to identify the approved method rather than experimenting.
Why window-cleaning habits do not always work here
A touchscreen’s exposed surface and finish need their own care instructions. Its glass-like appearance does not tell you which chemicals it tolerates, and you should not assume every display has the same construction or coating.
There are also seams, controls, and electronics around the screen. Keeping liquid on a barely damp cloth gives you better control than spraying the display and letting cleaner collect along its edges. Chemical Guys’ touchscreen-cleaning guide supports these basic handling practices: a clean cloth, light pressure, and applying liquid to the cloth rather than directly to the screen. Its general product recommendations are not a substitute for your vehicle’s instructions.
Two separate questions determine whether a method is suitable: Is this material or cleaner permitted, and am I using it correctly? An approved cleaner is not a reason to soak the screen, and a gentle cloth does not make an unapproved chemical compatible.
Choose a clean cloth—not just one labeled microfiber
Use the cloth type your vehicle manufacturer recommends. A dedicated, soft microfiber cloth is a practical choice where microfiber is permitted.
Before using it:
- Inspect both sides for grit, crumbs, or other particles.
- Check for rough or damaged areas.
- Avoid a towel previously used with dashboard dressing, wax, glass cleaner, or other detailing chemicals.
- Replace a questionable cloth with a clean one rather than trying to work around a dirty spot.
Microfiber is not a guarantee against scratches: trapped grit can be dragged across the surface. Leftover products on a towel can also leave streaks, making the screen look dirty even after you have wiped it.
Keep the screen cloth separate from general interior and exterior towels. A sleeve, shop rag, or paper towel is not a good substitute for the recommended cloth simply because it is within reach.
Which touchscreen cleaners are safe?
There is no single cleaning solution established here as suitable for every vehicle display. Choose based on the exact display-care instructions, not a broad label on the bottle.
| Option | When to use it | Practical distinction |
|---|---|---|
| Clean, dry approved cloth | As a first attempt for ordinary fingerprints, unless your manual specifies otherwise | Avoids adding liquid or cleaner; do not compensate for a persistent mark with more pressure. |
| Cloth lightly dampened with water | When the vehicle’s instructions permit water | Keep it barely damp and away from seams and openings. Distilled water is not automatically approved just because it is distilled. |
| A specified cleaning product | When the manufacturer permits that product or formulation | Follow the prescribed application method and any concentration instructions. |
| Generic screen cleaner, glass cleaner, or disinfectant | Only when its use is confirmed as compatible with your display | “Screen-safe,” “electronics-safe,” or “ammonia-free” alone does not establish vehicle-specific approval. |
What about alcohol, ammonia, and disinfecting wipes?
Check the exact instructions before using them. Do not assume alcohol always damages automotive screens—or that a common alcohol dilution is universally safe. The same compatibility check applies to ammonia-containing cleaners, disinfectant wipes, soap solutions, and homemade mixtures.
Removing fingerprints and disinfecting a surface are different goals. A product chosen for disinfection still needs to be suitable for the display. Do not improvise a stronger cleaning recipe when the approved method leaves a mark behind.
Step by step: remove fingerprints with gentle handling
1. Park and prepare the display
Clean only while safely parked, not while driving or stopped briefly in traffic. Turn off the display or activate its cleaning mode if the vehicle instructions call for it. Follow the specified procedure rather than assuming every vehicle has the same mode or shutdown controls.
For owners in Naples and Southwest Florida, outdoor parking is not a reason to invent a different cleaning recipe. Follow any temperature or sunlight precautions stated in your vehicle’s instructions; there is no universal cooling interval to apply to every screen.
2. Address loose dust first
Use the approved dry cloth with very light pressure to gently lift away loose dust before working on fingerprints. Move to a clean section of cloth as it picks up particles. Do not press down and drag visible grit back and forth across the screen.
If obvious debris does not lift away gently, stop rather than grinding it into the surface. Do not add a brush or another tool unless the manufacturer permits it.
3. Wipe fingerprints lightly
With a clean part of the cloth, make gentle passes over the smudged area. Avoid concentrated pressure from a fingertip beneath the cloth.
There is no need to chase a particular wiping pattern. The useful priorities are a clean cloth, light pressure, and avoiding repeated scrubbing of one spot.
4. Add permitted moisture only if needed
If dry wiping is insufficient and the instructions allow a damp method, apply a small amount of the permitted liquid to the cloth away from the display. The cloth should be barely damp, not dripping.
Wipe gently without allowing liquid to collect at the bezel, seams, buttons, ports, or openings. Do not spray the screen directly or soak a stubborn spot.
5. Check the result before repeating
If the approved method calls for a dry finish, use a clean, dry portion of the cloth. Then inspect the screen before making more passes. If it looks clear, stop; extra wiping is not an additional protective step.
When a mark will not wipe away
First, consider the cloth. A fresh, clean side or a second suitable cloth can help you check whether you are spreading residue rather than removing it. If the appearance changes or clears, residue or streaking is a reasonable possibility—not a definitive diagnosis.
A line, cloudy patch, or persistent smudge that remains after gentle approved cleaning is not automatically dirt. It could be a scratch, a finish problem, or another condition that cleaning will not resolve. Appearance alone does not establish the cause.
The stopping point is when the next step would require harder pressure, stronger chemistry, or abrasion. Do not use abrasive pads, scratch-removal products, or polish to chase the mark. Cleaning removes surface contamination; it does not repair a damaged display finish.
Contact the vehicle manufacturer or dealer when approved cleaning leaves an unresolved mark, especially if you see cracking, peeling, or persistent discoloration. If liquid entered an opening or the screen behaves abnormally after cleaning, seek display-service guidance rather than continuing to wipe it.
If a screen protector is installed
Check the protector maker’s care instructions for its exposed surface while continuing to observe the vehicle’s moisture precautions around the display. A protector does not make every cleaner suitable. For lifting, bubbles, or persistent marks on the protector, contact its maker or installer rather than assuming the factory screen itself is damaged.
Keep the screen clearer between cleanings
Store the dedicated cloth somewhere clean and separate from other detailing supplies. Handle it with clean hands and keep its wiping surfaces off dusty dashboards, seats, and storage compartments.
Clean when fingerprints interfere with visibility or the screen needs attention—not according to an arbitrary weekly or monthly schedule. Gentle, condition-based maintenance is more useful than repeatedly scrubbing a display that is already clean.
Before each cleaning, use this short checklist:
- Exact vehicle instructions checked.
- Vehicle safely parked; display prepared as directed.
- Clean, approved cloth ready.
- Loose dust removed gently.
- Only permitted moisture used, with no direct spraying.
- No escalation to pressure, stronger chemicals, or polishing for persistent marks.
The goal is straightforward: remove what is on the surface without treating the display like window glass—or trying to turn cleaning into repair.
Want professional help with your car?
Send us your vehicle make, model and a few current photos. We’ll recommend the right service based on the car’s actual condition.
Request a Quote